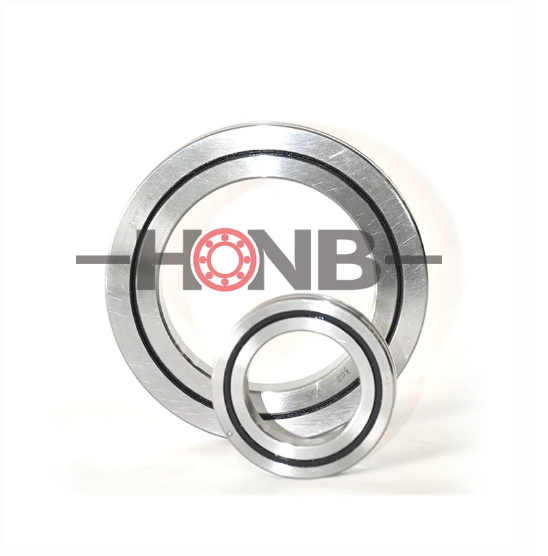
Precision bearings are mainly used for high-speed rotating occasions with light loads, requiring bearings with high precision, high speed, low temperature, low vibration and a certain service life. It is often used as the supporting parts of high-speed motorized spindle installed in pairs. It is the hub accessory of high-speed motorized spindle of inner surface grinding machine. So what should we pay attention to when installing precision bearings?
The service life of high-speed precision bearings is closely related to installation, and the following matters should be paid attention to:
1. Bearing installation should be carried out in a dust-free and clean room, bearing should be carefully selected, bearing ring should be grinded, and the parallelism of the ring should be controlled below 1um under the condition of keeping the inner and outer ring equal height;
2. The bearing should be cleaned before installation, when the inner ring slope is upward, the h and sensing is flexible, no sense of stagnation, after drying, put in a designated amount of grease, such as oil mist lubrication should put in a small amount of oil mist oil;
3. Special tools should be used for bearing installation, with average force and no knocking;
4. Bearing storage should be clean and ventilated, without corrosive gas, and the relative humidity should not exceed 65%. Long-term storage should be anti-rust on schedule.
In order to improve the actual matching accuracy of precision bearing installation, must not make precision bearing deformation measuring method and measuring tools, the precision bearing surface of the inner hole and cylindrical coordinate measure precision of the actual size, can be related to the inner diameter and outer diameter measuring project all be measured, and make a comprehensive analysis of measured data, and based on this, Dimensions for mounting parts of precision bearings with precise matching shafts and seat holes. In the actual measurement of the corresponding size and geometry of the shaft and the seat hole, it should be carried out under the same temperature conditions as the measurement of precision bearings.
In order to ensure a higher practical matching effect, the roughness of the shaft and seat hole should be as small as possible on the surface matching the precision bearing.
When measuring above, should be on the outer circle and inner hole of precision bearing, as well as the shaft and hole corresponding to the surface, near the sides of the assembly chamfering can respond in Ming direction of maximum deviation of two sets of tags, so that when the actual assembly, make suitable maximum deviation on the same position of the two parties, so after the assembly, the two sides to partially offset the deviation.
The purpose of making two sets of directional marks is that the compensation of the deviation can be considered comprehensively, so that the coaxiality error of the seat hole between the two supports and the journal at both ends can be partially eliminated even if the rotation accuracy of the two supports is improved. Implementing surface strengthening measures on the mating surface, such as sandblasting treatment, inserting the inner hole with slightly larger diameter precision plunger and so on, are beneficial to improve the mating accuracy.

If you have any questions, pls feel free to contact us.
e-mail:bearing6@hyzcgroup.com
- YRT rotary table bearing
- YRTS rotary table bearing (high speed series)
- YRTM with integral angular measuring system series
- ZKLDF axial angular contact ball bearing series
- RA series crossed roller bearing
- SX series crossed roller bearing
- CRBH series crossed roller bearing
- RE series crossed roller bearing
- RU series crossed roller bearing
- RB series crossed roller bearing
- XR/JXR series crossed taper roller bearing
- Crossed roller bearing

✉️ bearing20@hyzcgroup.com
📞 +86 15236685001


